Assembly: Editing Software - VR Worx
You may be doing this set of steps or someone else will do this for you. The links in this section show key steps in the use of the comprehensive VR Worx application.
5. Start up the VR Worx panorama authoring software. In the example below,
the VR Worx 2.0 software will be used, but there are other software applications
that operate in a similar way.
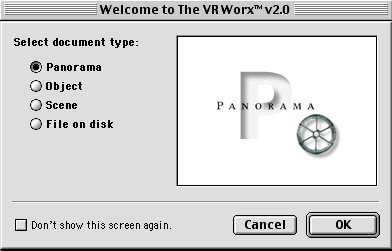
| 6. Upon starting up, make a decision between type of VR image, including panorama, object and so forth. Choose panorama for this procedure. | |
| 7. Under the SetUp tab, select either 12 or 18 shots and set the lens to 35 millimeters unless you can clearly see the millimeter rating on the camera lens, using that number instead. Set the image size to 640x480. See the example picture for the proper default setting for the other choices. | 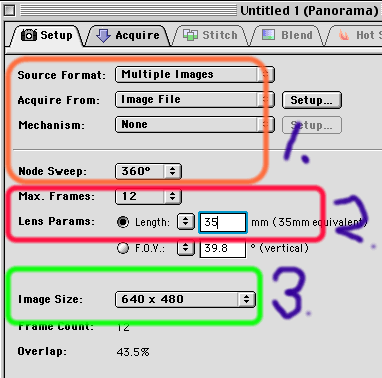 |
8. Next, click the Acquire tab. From this step, the images to be seamed together will be identified.
Click the button that says Multiple, find the correct folder and Add the
12 or 18 images.
9. Click the Stitch tab, then the Stitch Button. After a minute or so, the images are seamed
together as best the computer can do so on its own. It now needs human
intelligence to make further adjustments. In the screen window on the right
a
series of overlapped images appear. By clicking on one one of these images
and then pressing the appropriate arrow key, the images can be moved up,
down, left or right to make a better overlapping match with the picture
next to it. Move to the right through all the images to check for the best
fit. If the width of your images seems clipped or cut off or if all of
your images do not seems to appear even though you are sure you loaded them,
back up to the Setup tab and change the mm width setting of the shots. Change
the mm width to something larger. Try numbers in the 36-45 range. If the far
left vertical edge of the image appears distorted, the mm setting is too high.
Having made a mm setting change, return to the Stitch tab and re-stitch the
composition.
10. Click the Blend tab. Click the Blend Button. This step removes the lines of separate
overlapping images and creates one continuous image.
11. Click the Compress tab. Click the Compress Button. This creates the 360 degree panorama.
12. Click the Playback tab. Test your pano by clicking and dragging within the image. Click
the Export Movie... and give this creation a file name.